Creating a Tahoe sculpture

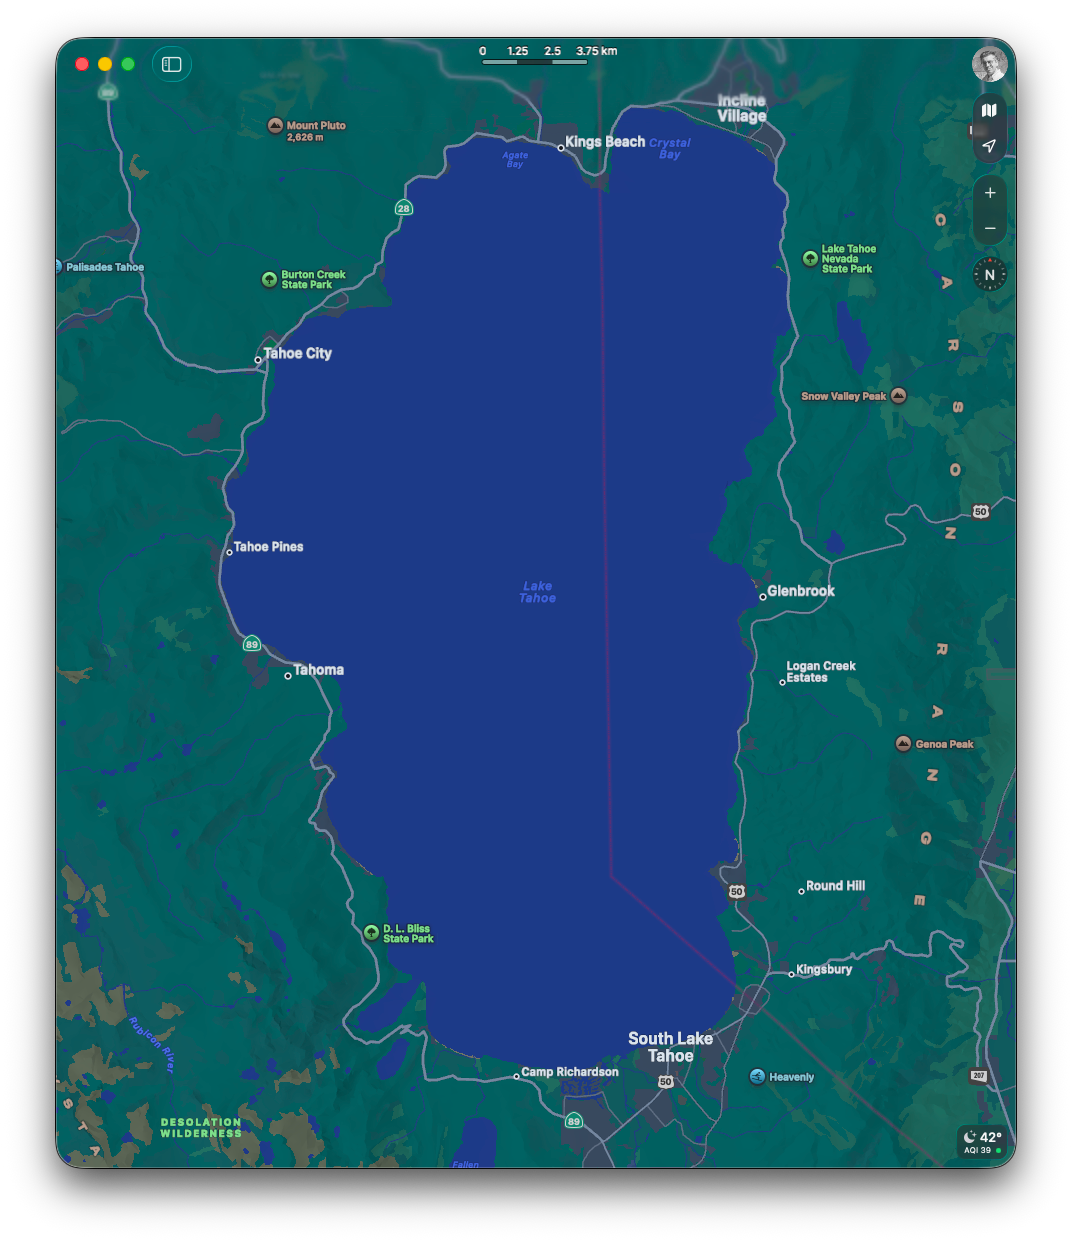
Last year, the company I work for rebranded as Tahoe Therapeutics. It is named after Lake Tahoe at the border between California and Nevada.
Over the last few years I have been using 3D printing for hobby projects, and our CEO asked if I could make a 3D printed sculpture for our new branding. It seemed like a fun project!
You can download bathymetry data from the US Geological Survey website, containing depths and coordinates. I quantized the depths to six different depth levels. For each level, I converted discrete groups of pixels reflecting “is there seabed here?” into vector curves in an SVG file.
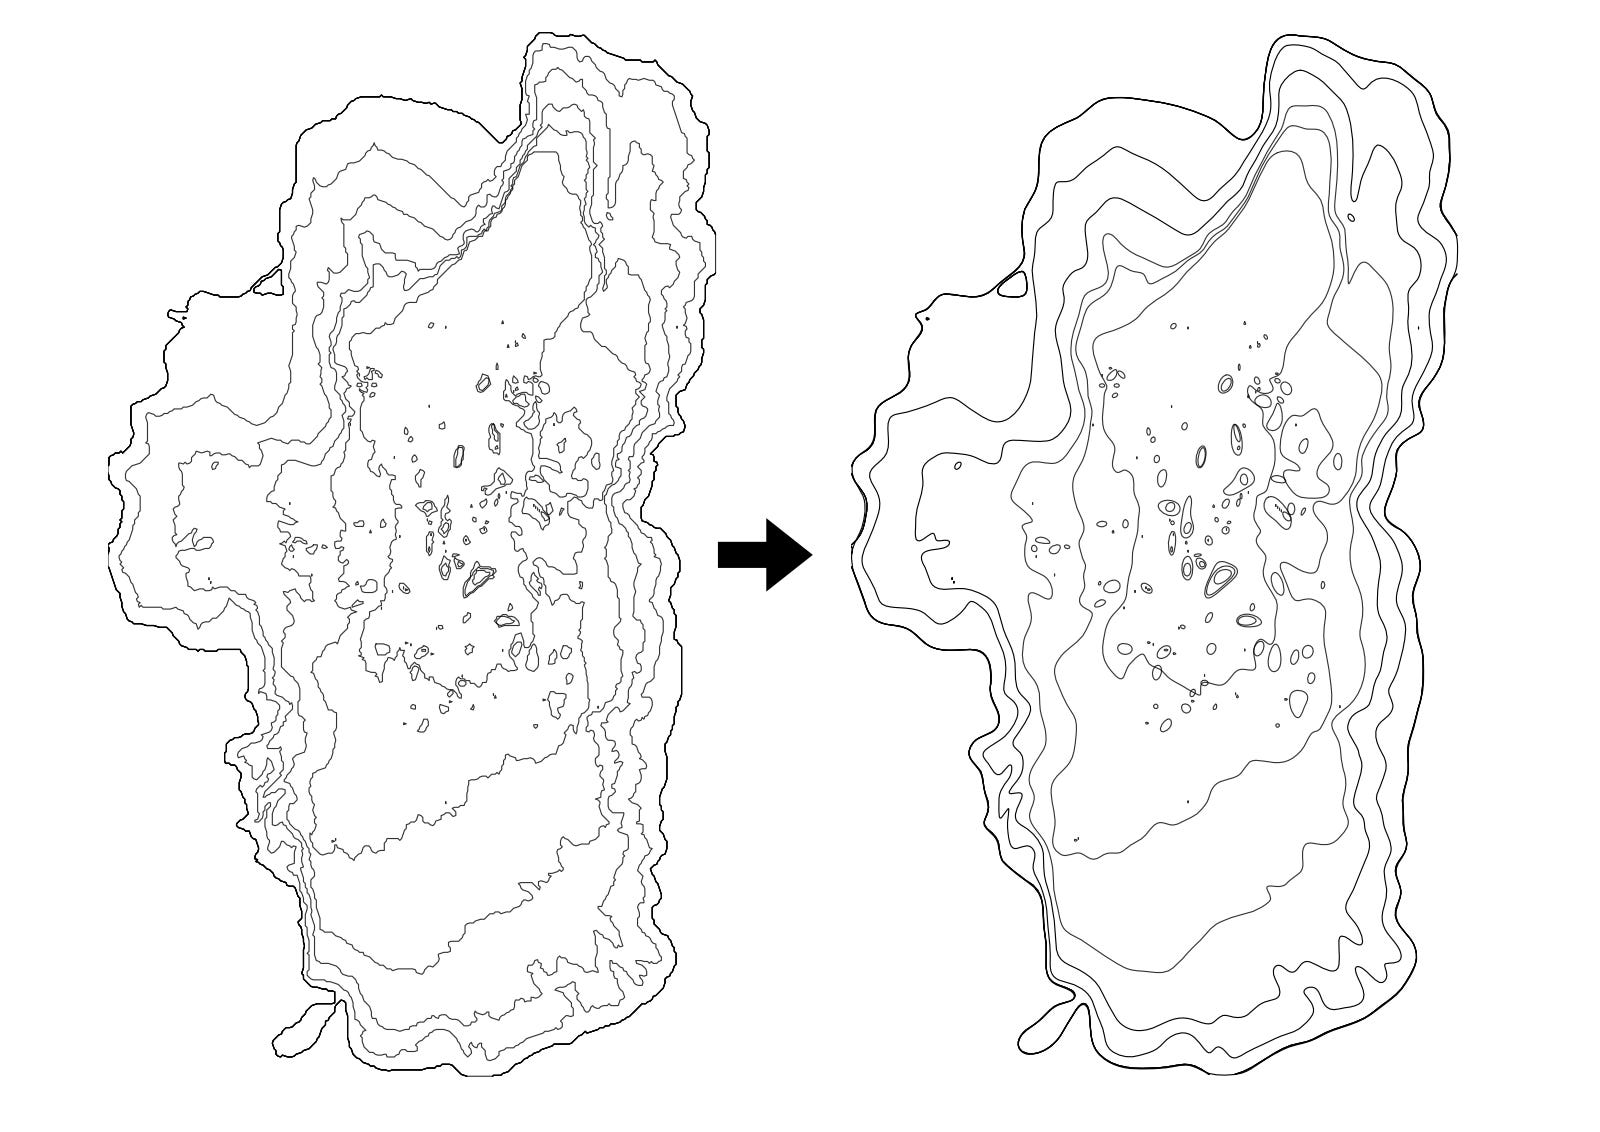
The natural curves formed by the discretized depth levels are quite jagged and noisy. To make a more pleasing 3D model, I smoothed the curves until I got a balance between interesting details and pleasant shapes.
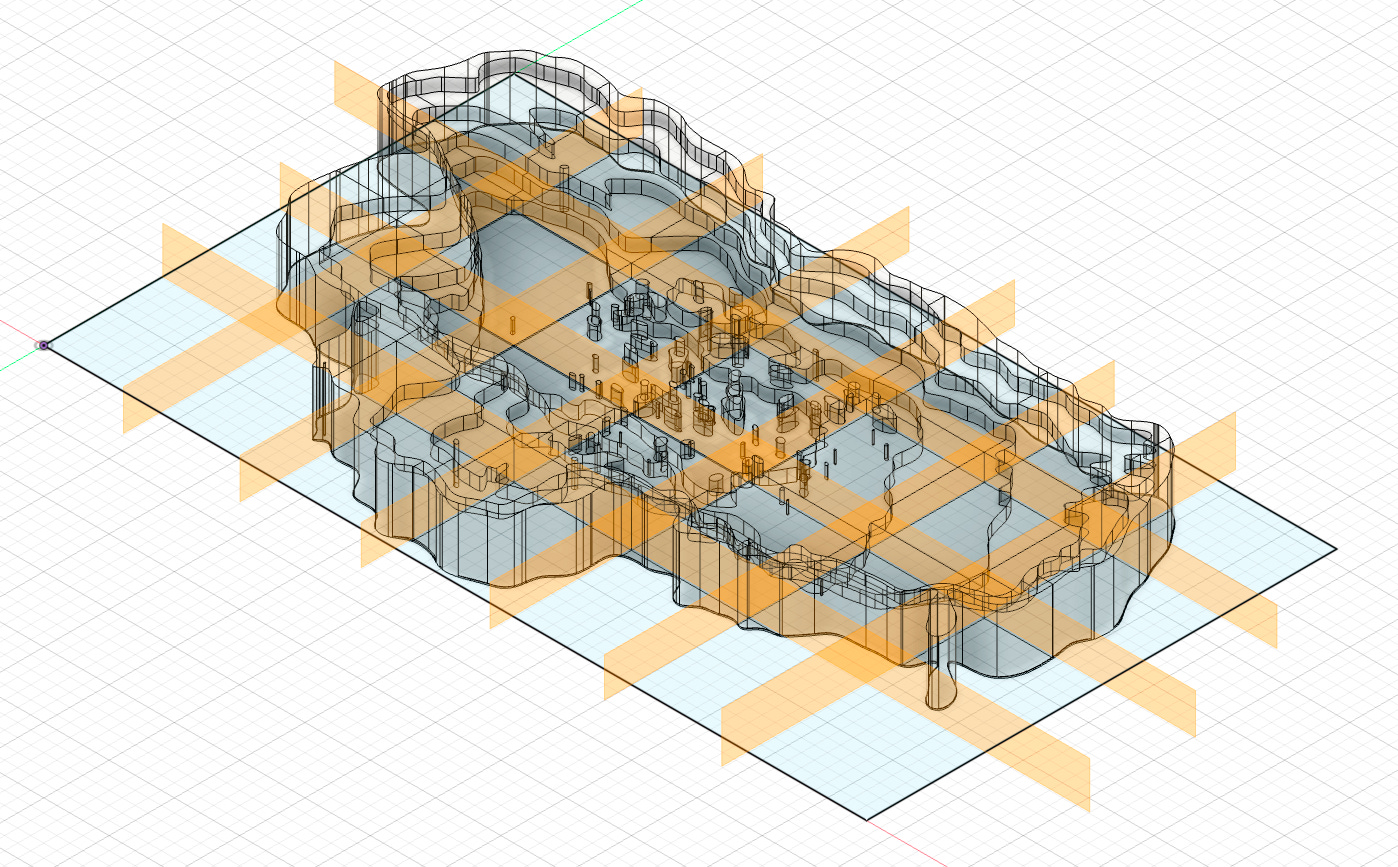
To make the 3D model, I extruded areas defined by the curves corresponding to how many curves were enclosing each curve.
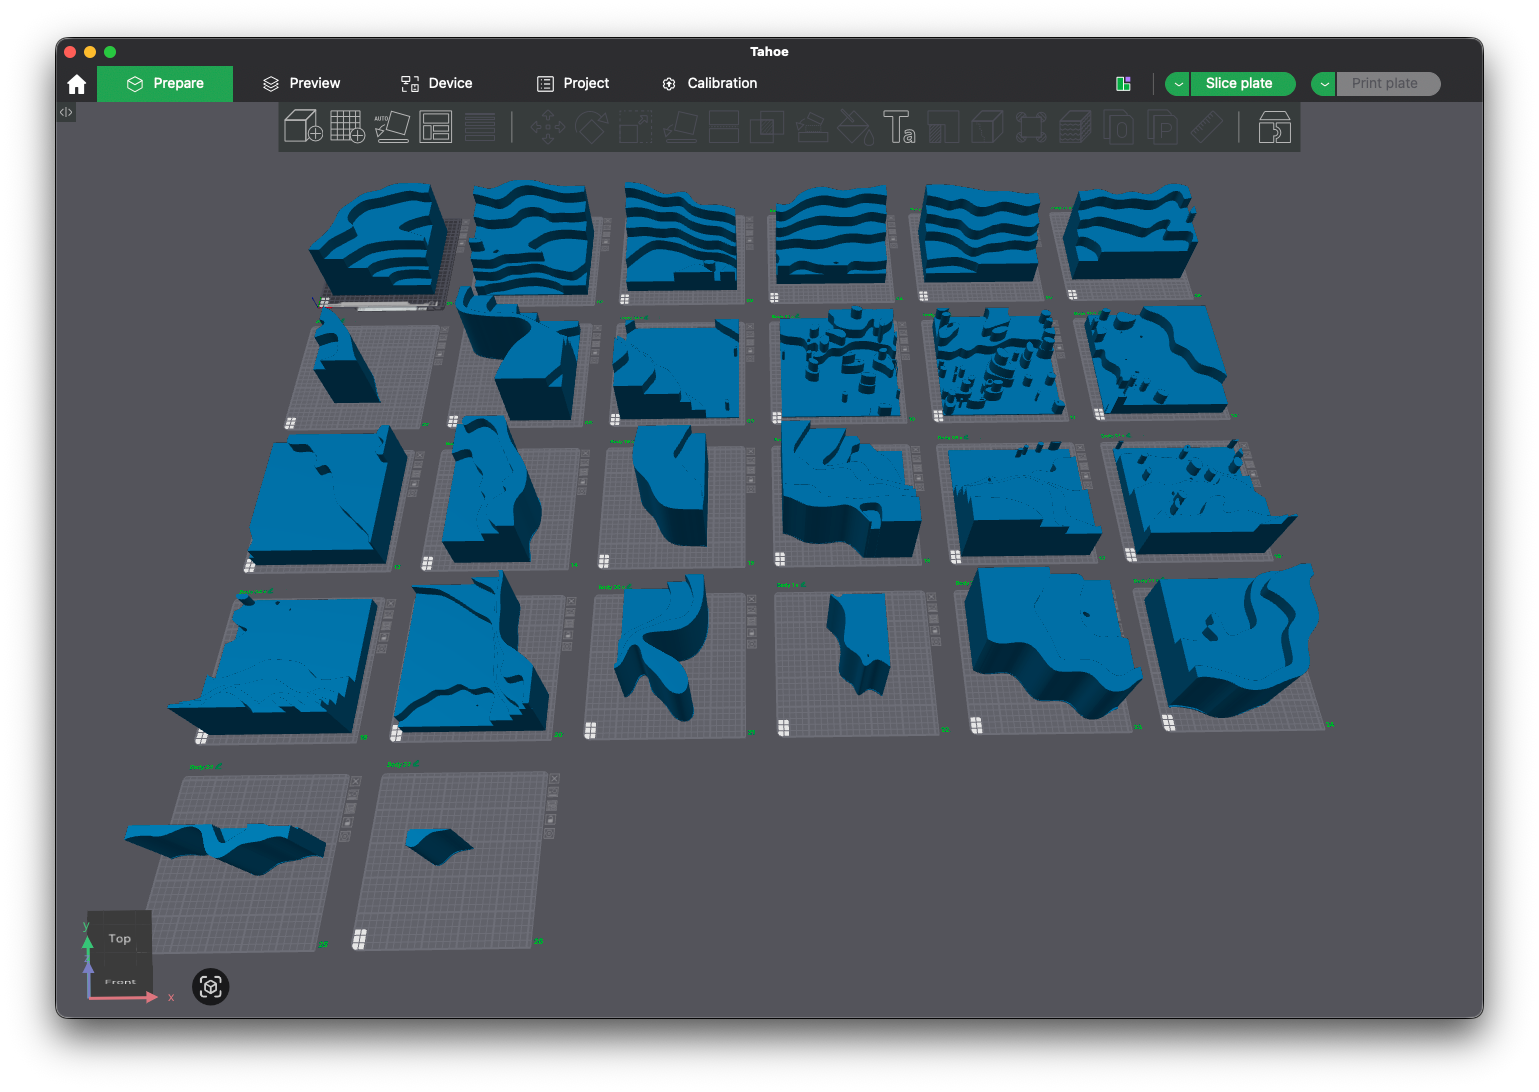
I took some measurements of the wall where we were thinking to place it, and cross referenced that with the printing volume supported by my printer. Based on this, I decided to scale the model so that a grid of 4x7 volumes in a single layer would cover the full model.
This resulted in 28 prints, with some smaller pieces around the corners of the model.
I found a metallic-style PLA filament that actually matched the blue color we use for our branding at Tahoe quite well. Printing took a couple of weeks and needed about 4kg of filament with a fairly sparse infill.
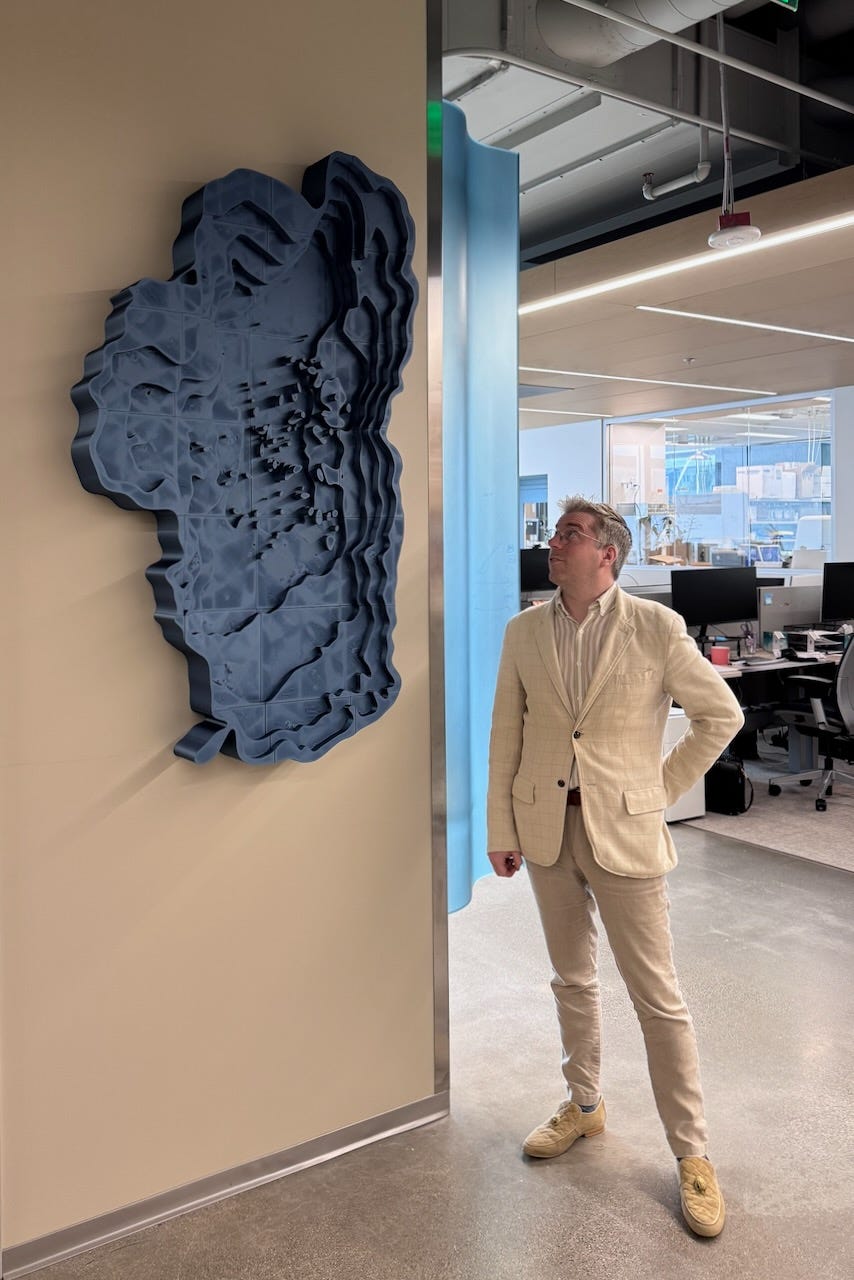
Assembling it became a bit of a puzzle. In retrospect I should have labeled the backs of the volumes. After we mounted it, I was very happy with how it turned out!